There are those kind of hobbies you never really thought of until you end up in an internet rabbit hole of YouTube videos, subreddits and wiki pages. Mead-making is such a hobby I didn’t know much of until about November 2024. I’ve had hydromel before; in fact, it’s a must every time my group of friends have a medieval-themed party. I just didn’t know much about the drink itself, its history as one of the first alcoholic beverages, and how it’s super easy to make at home.
Fast-forward to January where I got a bunch of amazon gift cards for Christmas and decided to start this hobby. I bought two 1-gallon glass jars, bottles, airlocks, yeast and nutrients, and a hydrometer. I now had the tools, but no real plan. After many, many videos, I had concepts of a plan, and had found a local honey producer where I could get 2 kg of honey for a good price.
It’s only today, February 25th, that I decided to start my batches of mead. My local producer had given me what she called summer honey, and autumn honey. The summer honey was lighter, and she explained that bees fed on dandelions in the summer and other plants in the fall, which I can’t remember. Two different honeys gave me the idea to make two distinct batches, instead of making one batch in a jar and keeping the other empty until racking time.
The yeast I decided to buy is EC-1118, known as wine or champagne yeast. It can tolerate up to 18% ABV, and that caused some concerns over the amount of honey I’d need. Using an online calculator, I found out that to reach 18% ABV while still ending up with a semi-sweet result, I would need 4.2 lbs of honey per batch, and I had 4.4 lbs total (2 kg). My understanding is that the yeast will keep on fermenting until it reaches its maximum tolerated ABV, but will go to sleep if it is out of nutrients or sugar. This means that any less honey than 4.2 lbs would have resulted in a lower ABV but a sleeping yeast, which could have reactivated while racking or bottling as oxygen found it’s way into the new container. I might try another yeast type with a lower ABV tolerance next time.
Thus began my first attempt. Today, I filled a large container with two gallons of warm water and added two tablespoons of 1-step cleanser, a sanitizing agent that doesn’t need rinsing. I then proceeded to sanitize my jars, my utensils and my tools. I added warm water to both jars, then emptied the summer honey in one jar and the autumn honey in the other. The summer one had crystallized and was really hard so a minute in the microwave helped a lot. I’m just hoping I didn’t ruin something by heating it. As stated earlier, the sugar level was too low to reach the desired ABV, so I added 1.1 lbs (0.5 kg) of store-bought pasteurized honey to each jar. It’s also kind of local, as in it’s made in Quebec, but it’s not the same as the tiny producer next door. To top it off, each jar got about 270 ml of local maple syrup my step-father makes every spring. I closed both jars and shook them as to mix the mixture with oxygen. They said to do this for 15 minutes but I can tell you you’ll get tired after three.
I mixed the yeast in slightly warm water with three tablespoons of Fermaid O. In retrospect I should have put in three teaspoons. The thing quickly formed clumps and mixing it long enough resulted in a bread-smelling thick liquid. I split the content between the two jars, then proceeded to take gravity readings.
Using my hydrometer, I noted that the summer batch had a specific gravity of 1.160, while the autumn batch had one of 1.145. These measurements will be useful later in the project to both figure out total ABV but also to make sure the fermentation process is complete.
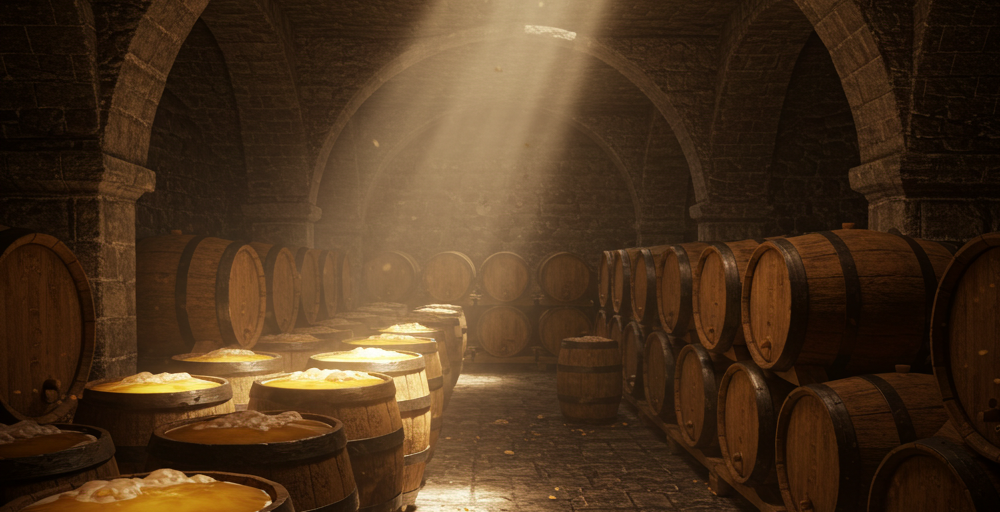
I finally took notes of the date, recipes and measurements, filled my airlocks with a bit of sanitized water, sealed everything and taped the notes to each jar. Took a picture, sent to the boys, and here’s hoping it tastes okay on May 25th when we all go to that cottage we rented.